Showing posts with label pencil drawings. Show all posts

Sunday, 19 May 2019

How to draw Baby Groot with pencils - step by step

How to draw baby groot with pencils, step by step groot draw, kids drawing, baby groot drawing for begginers, baby groot sketches, baby groot pencil drawing, avengers endgame drawing, groot drawing for kids

Hey friend's welcome to our drawing tutorial blog. Today we were going to draw baby groot with the help of graphite pencils on paper. Baby groot sketches look so tough but it's easier to draw by using the right techniques and methods of drawing. So before we start our step by step tutorial let's known the drawing tools we need for to draw baby groot.

             Tools and material's we need

1.Graphite pencils - 2b,4b,6b & 10b
2.Black charcol pencils
3.Paperstumps
4.White drawing paper
5.Scale

                       Important points

These are some important points which we must take care when we were going to draw baby groot with pencils:
•Draw major outline of groot first with the help of light grade graphite pencils.
•Use paperstumps for to give smooth texture on baby groot drawing. 
•Use grid method for to draw perfect outline of  baby groot realistic drawing.
So after knowing all this important point let's start our step by step tutorial.

How to draw baby groot with pencils, step by step groot draw, kids drawing, baby groot drawing for begginers, baby groot sketches, baby groot pencil drawing, avengers endgame drawing, groot drawing for kids

1.First step: First of all we need to make outline of baby groot. For to draw perfect outline use grid method otherwise you can use light grade pencils like hb or 2b pencils. You can also use mechanical pencil. First start draw with head then proceed for downwards according to the refrence images.

How to draw baby groot with pencils, step by step groot draw, kids drawing, baby groot drawing for begginers, baby groot sketches, baby groot pencil drawing, avengers endgame drawing, groot drawing for kids

2.Second step: In second step friend's we need to draw outline of eyes,mouth and leaves of baby groot then draw some smaller and bigger lines on baby groot face. For to draw lines you can use 2b pencils. 

How to draw baby groot with pencils, step by step groot draw, kids drawing, baby groot drawing for begginers, baby groot sketches, baby groot pencil drawing, avengers endgame drawing, groot drawing for kids

3.Third step: Now friend's we will do shading. For shading use 4b pencil on skin area and 6b on corner end side of lines. Then use paperstumps for to give smooth texture on drawing according to the refrence image. Also don't forget to shade leaves with blending stump's.

How to draw baby groot with pencils, step by step groot draw, kids drawing, baby groot drawing for begginers, baby groot sketches, baby groot pencil drawing, avengers endgame drawing, groot drawing for kids

4.Fourth step: At last step friend's we will use charcoal pencils. Draw some line patterns with charcol pencils on existing line. Then shade the eyes area with charcol pencils by lefting small circle shape at upper corner. It will gives us shining effect eye's on drawing.

So I hope friend's you will like it don't forget to follow us, for more information you can watch our Youtube videos.  

How to draw - 3d drawing, diamond , Popsicle sticks house, Rose drawing

Thank you for visiting us,follow us know


Thursday, 4 April 2019

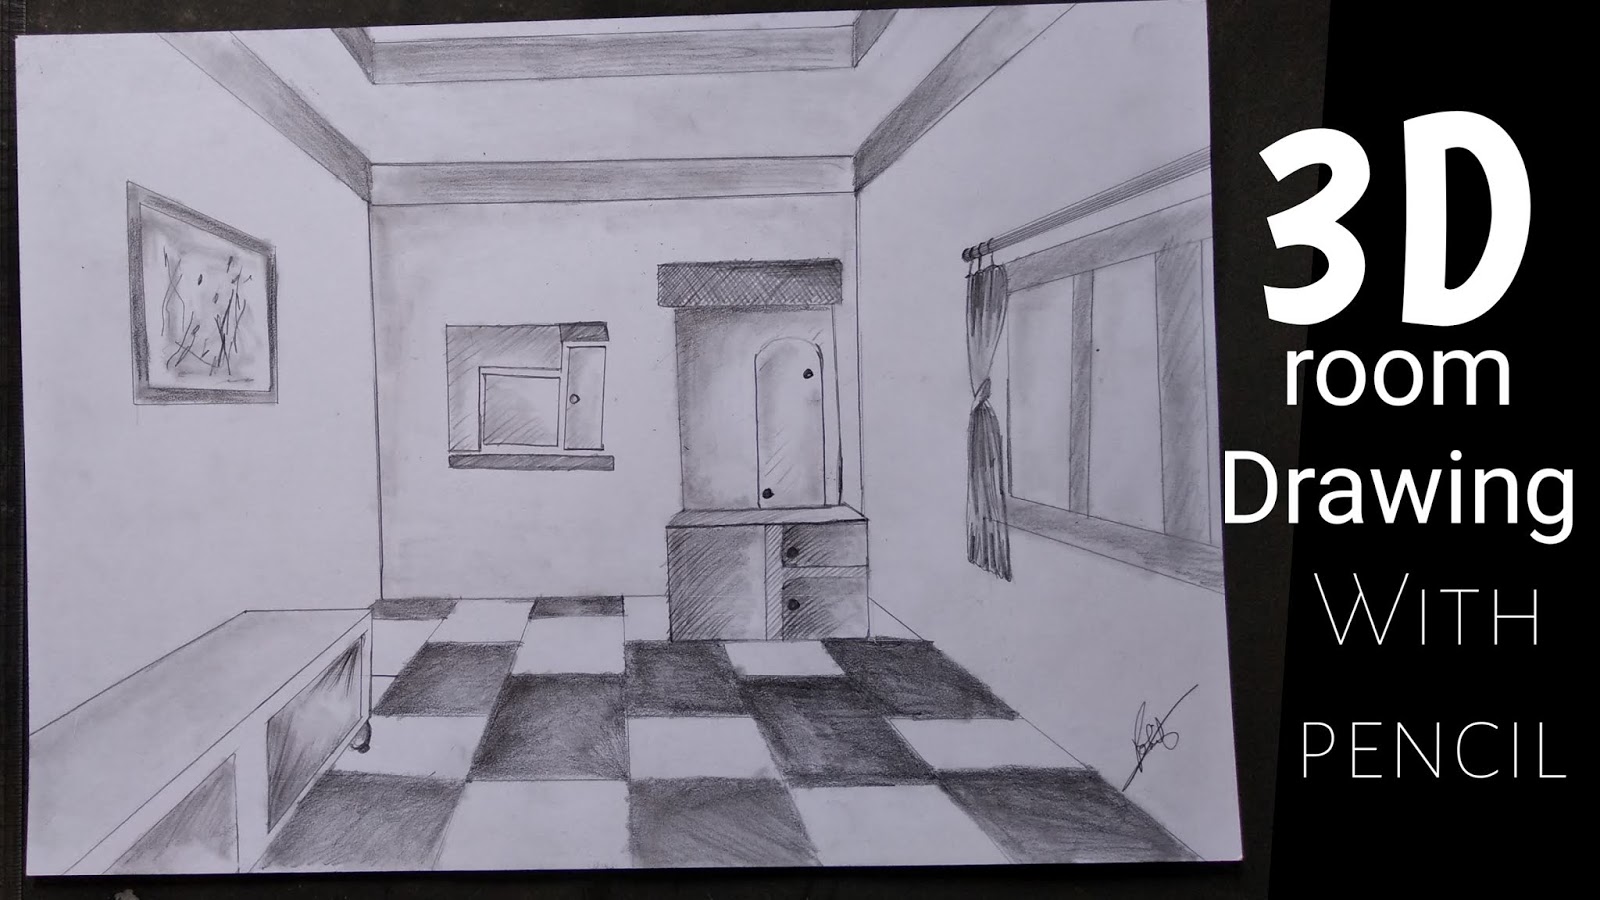
How to draw 3d room with one point perspectives


Room 3d drawing, room drawing with one point perspectives, 3d room drawing, drawing for begginers, room drawing step by step tutorial, room designs

Hey Guy's welcome back to our another drawing tutorial blog. Today we will learn to draw room in 3d with one point perspectives. This topic is one of the most interesting and important friend's. When we able to draw 3d room our concept about one point perspectives will be cleared. So before we start step by step tutorial let's know the drawing tools first that we need to draw 3d room.

                  Drawing tools we need

1.Graphite pencils - 2b,4b & 6b
2.Kneaded eraser
3.Scale
4.White drawing paper

                       Important points

These are some important points that we must take care when we were going to draw 3d room drawing:
•We must need to draw room with the help of one point perspectives so we will able to make acqurate drawing of room.
•Always use light grade pencils for to draw outlines of rooms wall and things  so you can erase mistakes easily.
•Use scale for to draw lines in room drawing so we will get accurate lines of rooms walls.
So after knowing all this important points let's start our step by step tutorial.

Room drawing with one point perspectives,3d room drawing, step by step tutorial, easy drawing, room design.room drawing for begginers, kids Drawing

 1.First step: In first step friend's we will draw square or rectangular shape. Here I have taken height of 10cm and 12cm length. After that we take one point in recantangle and this will become our one point perspectives. The way of taking point is we need to draw lines from one corner side of square to another side again we draw lines one side to another where the both lines meet that will be our point. So by this way we get one point perspectives for room drawing.

drawing rooms tiles, room drawing with pencil, step by step tutorial, one point perspectives drawing, begginers drawing, house drawing,kids drawing

2.Second step: In second step friend's we will draw tiles structure for room. We need to point on bottom recantangluar lines by making gap of 2cm. Then we need to draw through this point towards the ground. You should always keep in mind that you need to match with one point perspectives to another point then draw lines towards the ground from point. So by this way you will be draw correct tiles structure.

Room drawing with pencil, step by step tutorial, easy room drawing, drawing windows for home , kids drawing,

3.Third step: In third step friend's we will draw ceiling for the room. For to draw we need to draw line from certain point at ceiling towards. Here also we need to match one point perspectives with ceiling point. Take ceiling point according to size of ceiling. Also we will follow the same step for to draw window.

Room drawing with one point perspectives, step by step tutorial, room drawing with pencil, easy house drawing, begginers tutorial

4.Fourth step: In this step we will draw some goods for houses. Here I have drawn almira for room. For almira I have take another one point perspectives by following the same step. Then with the help of one point perspectives I have drawn it. Also I have drawn boxes for home by following the room one point perspectives.

Room drawing with one point perspectives, step by step tutorial,kids drawing, room drawing with perspectives, room pencils deawing

5.Fifth step: At last step we will one of most important work which is shading. So for shading tiles I have used 4b pencils and also shade almira some parts with it. Then with the help of 2b pencils shade ceiling straight walls and blend it. Use paperstumps for to give shiny effects on mirrors.


So I hope friend's you will understand and enjoy it. Watch YouTube videos for more information. Also share it with your friends
Visit our latest blogs:Rose, 3d drawing, Banana, scenery Drawing.

Thanks for visiting us, follow us now


Wednesday, 27 March 2019

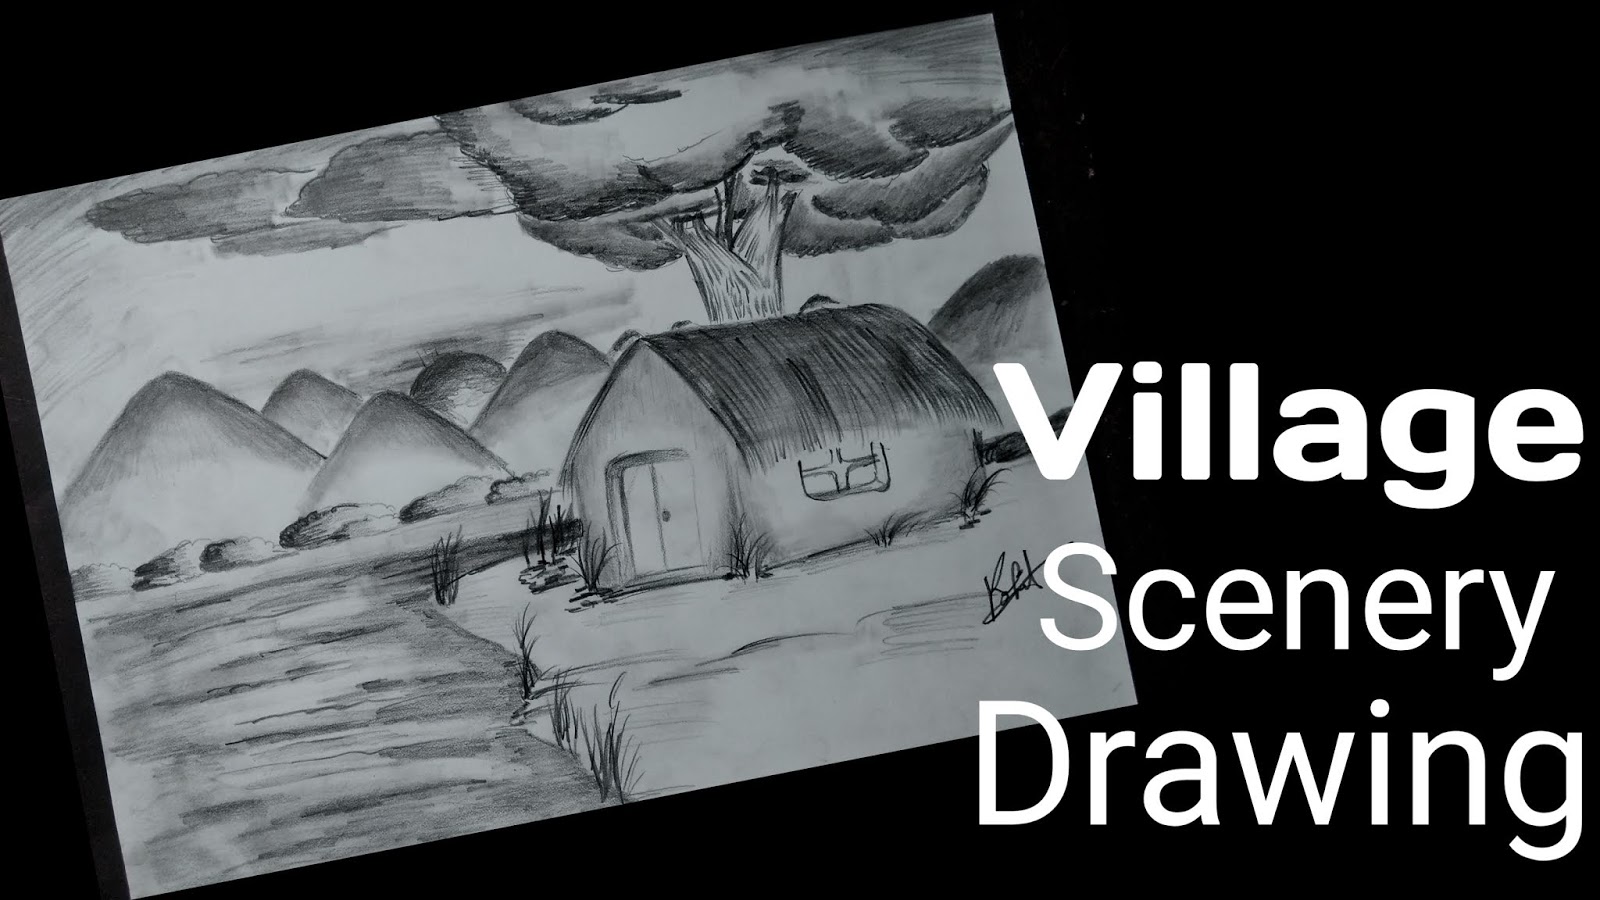
How to draw Village scenery - step by step tutorial

Village scenery drawing, step by step tutorial for kids, easy scenery drawing, step by step tutorial for scenery drawing, how to draw village with pencils, scenery drawing for begginers

Hey guys,welcome to our another drawing tutorial blog. Today we will learn to draw village scenery with the help of graphite pencils. This drawing tutorial blog is mainly for begginers and one of the simplest sketching. So before we start step by step tutorial we need some drawing tools for to draw village scenery.

                Drawing tools we need

1.Graphite pencils - 2b,4b,6b and 8b 
2.Paperstumps
3.Eraser 
4.White drawing paper 

                   Important points

These are some important points that we must take care when we were going to draw village scenery drawing:
•Always we need to draw outline of scenery things with the help of light garde pencils like HB or 2b pencils.
•This scenery drawing of village so we need to draw house according to the houses of villages.
•At last try to use paperstumps because it gives us smooth texture to our drawings.
So after knowing all this important points let's start our step by step tutorial of village scenery drawing.

Village scenery drawing, step by step tutorial for kids, easy scenery drawing, step by step tutorial for scenery drawing, how to draw village with pencils, scenery drawing for begginers

1.First step: In the first step friend's we will draw outline of house, river, mountains,trees etc., . Here we use mechanical pencils and Hb graphite pencils for to draw outline for lighter shades so we can erase mistakes easily. 

Village scenery drawing, step by step tutorial for kids, easy scenery drawing, step by step tutorial for scenery drawing, how to draw village with pencils, scenery drawing for begginers

2.Second step: In this step we will do Shading of house. So first thing that we must take care is we need to draw houses of village. Here we done shading of roof so here we use simple technique for shading. Technique is we only draw lines with 6b for roof texture and we need not make gaps between lines so it will start to give us roof texture. We shade walls of house with 4b pencils at corner part of house.

Village scenery drawing, step by step tutorial for kids, easy scenery drawing, step by step tutorial for scenery drawing, how to draw village with pencils, scenery drawing for begginers

3.Third step: Now in third step we draw trees. We need to give wooden texture to the stem part of tree so we make lines on stem with 4b pencils for to give wooden texture and maintain some gaps between lines. Another step is we shade at the lower parts of trees with the 6b and 4b pencils. Apply 6b pencils at corner then 4b pencils upper than 6b pencils so it will gives us trees texture.

Village scenery drawing, step by step tutorial for kids, easy scenery drawing, step by step tutorial for scenery drawing, how to draw village with pencils, scenery drawing for begginers

4.Fourth step: In this step friend's we will draw seas and mountains for village scenery. For to seas we use 4b and 2b pencils. We need to shade at corner parts of sea with 4b pencils and 2b at bottom. Draw some straight lines on sea area it will gives us look of floating water. Now we will do shading for mountain. For shading we use 4b pencils and shade at upper parts of mountains.

Village scenery drawing, step by step tutorial for kids, easy scenery drawing, step by step tutorial for scenery drawing, how to draw village with pencils, scenery drawing for begginers

5.Fifth step: At this steps friend's we will draw some grasses for village scenery drawing. So for to draw grasses we need to take 8b pencils and draw some lines from ground. Here I have drawn grasses at the house corner and on some lands.

Village scenery drawing, step by step tutorial for kids, easy scenery drawing, step by step tutorial for scenery drawing, how to draw village with pencils, scenery drawing for begginers

Wednesday, 20 March 2019

How to draw Flower pot step by step tutorials - pencil drawing

How to draw flower pot , how to draw flowers, how to draw flower pots with pencil ,how to draw flower pots with graphite pencil,flower pencil drawings ,how to draw flower pot step by step tutorial for beginners,  easy drawing of flower pot ,flower pot kids drawing

Hey guy's, welcome to our another drawing tutorial blog. Today's tutorial is one of the most important drawing tutorial blog because we will learn to draw flower pot with the pencil. Basically this tutorial is for begginers who wants to learn more about drawing techniques and want to do more practice. So before we start step by step tutorial let's know the drawing tools first that we need to draw flower pot.

                  Drawing tools we need

1.Graphite pencil - 2b,4b,6b & 8b 
2.Paperstumps
3.Kneaded eraser
4.White drawing paper

                      Important points

These are some important points which we must take care when we are going to draw flower pot with pencil:
•Always take care that we need to draw outline with the help of mechanical pencil or with light grade pencil.
•Draw outline with the help grid method or draw by freehand according to the reference image.
•Don't forget to draw leaves for the flower pot.
So After knowing all this important important points let's start our step by step tutorial for to draw flower pot.

How to draw flower pot , how to draw flowers, how to draw flower pots with pencil ,how to draw flower pots with graphite pencil,flower pencil drawings ,how to draw flower pot step by step tutorial for beginners,  easy drawing of flower pot ,flower pot kids drawing

1.First step: First of all friend's we will draw outline of flower pot. Always start to draw pot first and then draw outline of flowers. Here I am using mechanical pencils but you can draw outline with the help of light grade pencils like HB or 2b pencils so you can erase easily. For to draw correct outline use grid method but here I have drawn with freehand according to the reference image.

How to draw flower pot , how to draw flowers, how to draw flower pots with pencil ,how to draw flower pots with graphite pencil,flower pencil drawings ,how to draw flower pot step by step tutorial for beginners,  easy drawing of flower pot ,flower pot kids drawing

2.Second step: In the second step friend's we will do shading for pot. For to shade we use 4b and 6b graphite pencils. First we shade the upper part of pot and then proceed for the lower part. First we shade with 4b pencil at the whole of pot and then shade with 6b at corner part. Here I have drawn circles on pots then shade with 4b pencil then erase it at the centre part.

How to draw flower pot , how to draw flowers, how to draw flower pots with pencil ,how to draw flower pots with graphite pencil,flower pencil drawings ,how to draw flower pot step by step tutorial for beginners,  easy drawing of flower pot ,flower pot kids drawing

3. Third step: In the third step friend's we will do shading of flowers. Here I have drawn different-different flower so I have to do shading of flower according to their texture. So first I shade flower at centre then makes lines on flowers with two grade pencils one is 6b or pencils. First I shade with 4b then draw lines on it according to texture from 4b pencils. Also I am flowing same step for to Drawing other flower according to their texture.

How to draw flower pot , how to draw flowers, how to draw flower pots with pencil ,how to draw flower pots with graphite pencil,flower pencil drawings ,how to draw flower pot step by step tutorial for beginners,  easy drawing of flower pot ,flower pot kids drawing

4.Fourth step: In the fourth step friend's we will do shading of leaves and stems. Shading of leaves is one of the most easiest step in this drawing. Here we will follow the simple steps is we take 4b pencil and draw some lines at the upper of leaves according to the reference image. Also shade the stems of flowers with 8b pencil. At last use paperstumps for to give smooth texture to the flower pot drawing.


I hope friend's you will like this tutorial. For more information watch our YouTube videos and also watch our latest blogs. Don't forget to follow us.

How to draw: Rose, Diamond, house, 3d words

Thanks for visiting us, follow us now


Thursday, 14 March 2019

How to draw Sunset Scenery Drawing with pencil - step by step tutorials

How to draw sunset scenery, sunset drawing, how to draw sunset drawing with pencil ,step by step tutorial drawing for beginners, sunset sketching, scenery sketching, how to draw scenery drawing ,drawing for begginers

Hello friend's , welcome back to our new drawing tutorial blog. Today we will learn to draw Sunset scenery by with the help of graphite pencil. This scenery drawing is so easy for begginers and with the help of this tutorial you will get know some basic techniques of sketching. So before we start our step by step tutorial let's known the drawing tools we need for drawing.

                 Drawing tools we need

1.Graphite pencils - 2b,4b,6b,8b and 10b
2.Charcol pencils
3.Mechanical pencil
4.Paperstumps
5.Kneaded eraser
6.Pencil eraser

                      Important points

These are some important points that we must take care when we are going to draw Sunset scenery drawing.
•Draw outlines of mountain and hills with help of light grade pencil or with mechanical pencil so you can erase it easily.
•Use Paperstumps or tissue papers for to give smooth texture on sky or sea areas.
•Use pencileraser for to add more on some areas of drawing.
After knowing all this important points let's start our step by step tutorials.

How to draw sunset scenery, sunset drawing, how to draw sunset drawing with pencil ,step by step tutorial drawing for beginners, sunset sketching, scenery sketching, how to draw scenery drawing ,drawing for begginers

1.First step: Our first step is to draw outlines of mountains and seas according to the refrence image. For to draw outlines we need to use light grade pencils or mechanical pencils so we can erase it easily.

How to draw sunset scenery, sunset drawing, how to draw sunset drawing with pencil ,step by step tutorial drawing for beginners, sunset sketching, scenery sketching, how to draw scenery drawing ,drawing for begginers

2. Second step: In second step friend's we will draw hills and seas. First we do shading for to sea area. For shading we take 4b pencil and do it at the whole sea are. One important points you must remember we need not to do shading in middle sea area acccoring to above image. Then we draw hills with the help of charcol pencils and do shading at whole part of hills.

How to draw sunset scenery, sunset drawing, how to draw sunset drawing with pencil ,step by step tutorial drawing for beginners, sunset sketching, scenery sketching, how to draw scenery drawing ,drawing for begginers

3.Third step: In this step friend's we will do shading at the sea area. For shading we need to use 6b grade pencils. This process is one of the most important process of the sunset drawing because of this process sea start to look realistic. By the help of 6b pencils we add shades at some parts and then we blend it with paperstumps. As you can see in above image how I draw in above image.

How to draw sunset scenery, sunset drawing, how to draw sunset drawing with pencil ,step by step tutorial drawing for beginners, sunset sketching, scenery sketching, how to draw scenery drawing ,drawing for begginers

4.Fourth step: Now friend's in this step we will draw grasses and some lands at the lower part of drawing. First draw lands at lower part with the help of charcol pencils. Then we draw some curve lines from land to above areas and it's must be different in shape and sizes. Draw some details in your drawing by observing from above image.

How to draw sunset scenery, sunset drawing, how to draw sunset drawing with pencil ,step by step tutorial drawing for beginners, sunset sketching, scenery sketching, how to draw scenery drawing ,drawing for begginers

5.Fifth step: At last step friend's we draw sky and some details in drawing with the help of pencil eraser. Use 4b pencil for to do shading in sky area and left circle at middle lower area without shading so it will become our sun. We use pencileraser for to add some in sky. Mark some cloudy shape at the sky with the help pencileraser. Then draw some lines at the middle sea area with help of 6b pencils.


I hope friend's you will like it for more information you can watch our YouTube videos, Don't forget to follow to follow us and watch our latest blogs 

More tutorials- Apple,Rose,Diamond,Banana

Thank you for visiting us


Wednesday, 6 March 2019

How to draw Rose - with pencil - step by step tutorial


How to draw Rose ,step by step tutorial, Rose drawing, Rose drawing with pencil, how to draw Rose with pencil ,how to draw rose step by step of rose, rose drawing for begginers,

Hey Guy's, today we were learn to Rose with the help of graphite pencils. We known that we gift rose to special one's and you can also gift rose drawing to special one's. This drawing will help you in the improvement of your drawing skills. So before we start let's know the drawing tools first that we need for to draw rose.

                  Drawing tools we need

1.Graphite pencils - 2b,4b,6b,8b
2.Paperstumps
3.Pencil eraser
4.Mechanical pencils
5.White drawing paper

                      Important points

These are the some important point that we must take care when we are going to draw Rose drawing with pencil:
•We need to draw outline of Rose with the help of light grade pencil or with mechanical pencil so you can easily erase it.
•Use blending stump for to give smooth texture on rose and it will give us realistic look.
•Use pencil eraser or kneaded eraser for to add details in rose drawing.
After knowing all this important point let's start the step by step tutorial for to draw Rose with the help of Graphite pencils.

How to draw rose petals outline ,how to draw Rose with pencil, step by step tutorial of Rose drawing ,how to draw Rose step by step, beginners drawing of Rose, drawing for beginners ,graphite pencil drawing

1.First step: In the first step we will draw the outline of rose patels. Here I am using mechanical pencil you can use HB pencil or 2B pencils for to draw outline so you can erase it easily. You can draw outline of rose petals according to the image step by step. First start to draw petals from the top and proceed slowly - slowly. Then draw corner outline of the rose petals.

How to draw Rose leaves outline ,how to draw Rose with pencil step by step tutorial, how to draw rose beginners, drawing step by step tutorial of Rose drawing ,pencil drawing ,beginners drawing of rose

2.Second step: Now friend's in second step we will draw the outline of rose stem and rose leaf. We need to draw to lines through downwards form the rose petals and it should be thin in shape. Draw leafs from stems and remember in mind that we need to draw leafs shape according to rose leaf. Rose leafs will be having pointed corner and you can see how I draw this patterns in above image.

How to shade rose, how to draw rose step by step tutorial ,drawing of rose ,rose drawing ,drawing for beginners ,step by step tutorial of Rose , pencils drawing

3.Third step: In third step friend's we will do shading for the rose petals. For shading First I shade with 4b pencil at the all areas petal. Then I use 6b pencils to highlight the some darker areas of rose petals. We need to use 8b pencils at some corners of rose petals. You can shade according to your rose refrence image.


How to set Rose stem, step by step to draw a rose drawing ,how to draw Rose,how to draw Rose step by step tutorial beginners, drawing for beginners, Rose pencil drawing

4.Fourth step: In this step guy's we will shade stems and leaf part. For to shade leafs we need to use 6b and 8b pencils. First we shade with 6b pencils and then use 8b pencils according to need.  For to shade leafs I have used only 2b pencils because we need not to add darker shades to the rose leafs. After shading leafs we add some pattern with 4b pencils on the leaves.

How to draw Rose step by step tutorials, Rose drawing, drawing for beginners

5.Fifth step: At last step friend's we will do blending and add some details by using pencil eraser. Here I am doing blending with the help of paperstumps and we need to use paperstumps at the rose petals so it will look realistic. At last use pencil eraser for to add some white texture according to the reference image.


So I hope friend you understand well to draw Rose with the help of graphite pencil. For more information you can watch our YouTube videos or also watch our latest drawing tutorial blogs.

How to draw - Diamond,Trees,Apple,Banana

Thank you for visiting us


Featured posts

Essential Drawing Tools and Materials for begginers - Top 10 list

    Basic drawing tools and accessories for begginers - by Art of Rohit  Hello friend's, today I will tell you and discuss about b...

Popular posts